DNA on Gel Electrophoresis: A Step-by-Step Guide
Gel electrophoresis is a fundamental technique in molecular biology that allows scientists to separate DNA fragments based on their size and charge. This blog post will provide a comprehensive, step-by-step guide to the gel electrophoresis process, making it easy to understand and follow.
1. Gel Preparation
- Choose the Right Gel: Agarose gels are commonly used for DNA electrophoresis. The concentration of agarose determines the pore size of the gel, which affects the separation range of DNA fragments.
- Prepare the Gel Solution: Weigh the appropriate amount of agarose powder and dissolve it in a buffer solution (usually Tris-acetate-EDTA or TAE buffer) by heating.
- Cast the Gel: Pour the molten agarose solution into a gel casting tray with a comb inserted to create wells for DNA loading. Allow the gel to solidify at room temperature.
2. DNA Sample Preparation
- DNA Extraction: Isolate DNA from your sample source using appropriate DNA extraction methods.
- Add Loading Dye: Mix your DNA samples with a loading dye, which contains glycerol to increase sample density and tracking dyes to visualize DNA migration during electrophoresis.
3. Loading the Gel
- Remove the Comb: Carefully remove the comb from the solidified gel to create wells for sample loading.
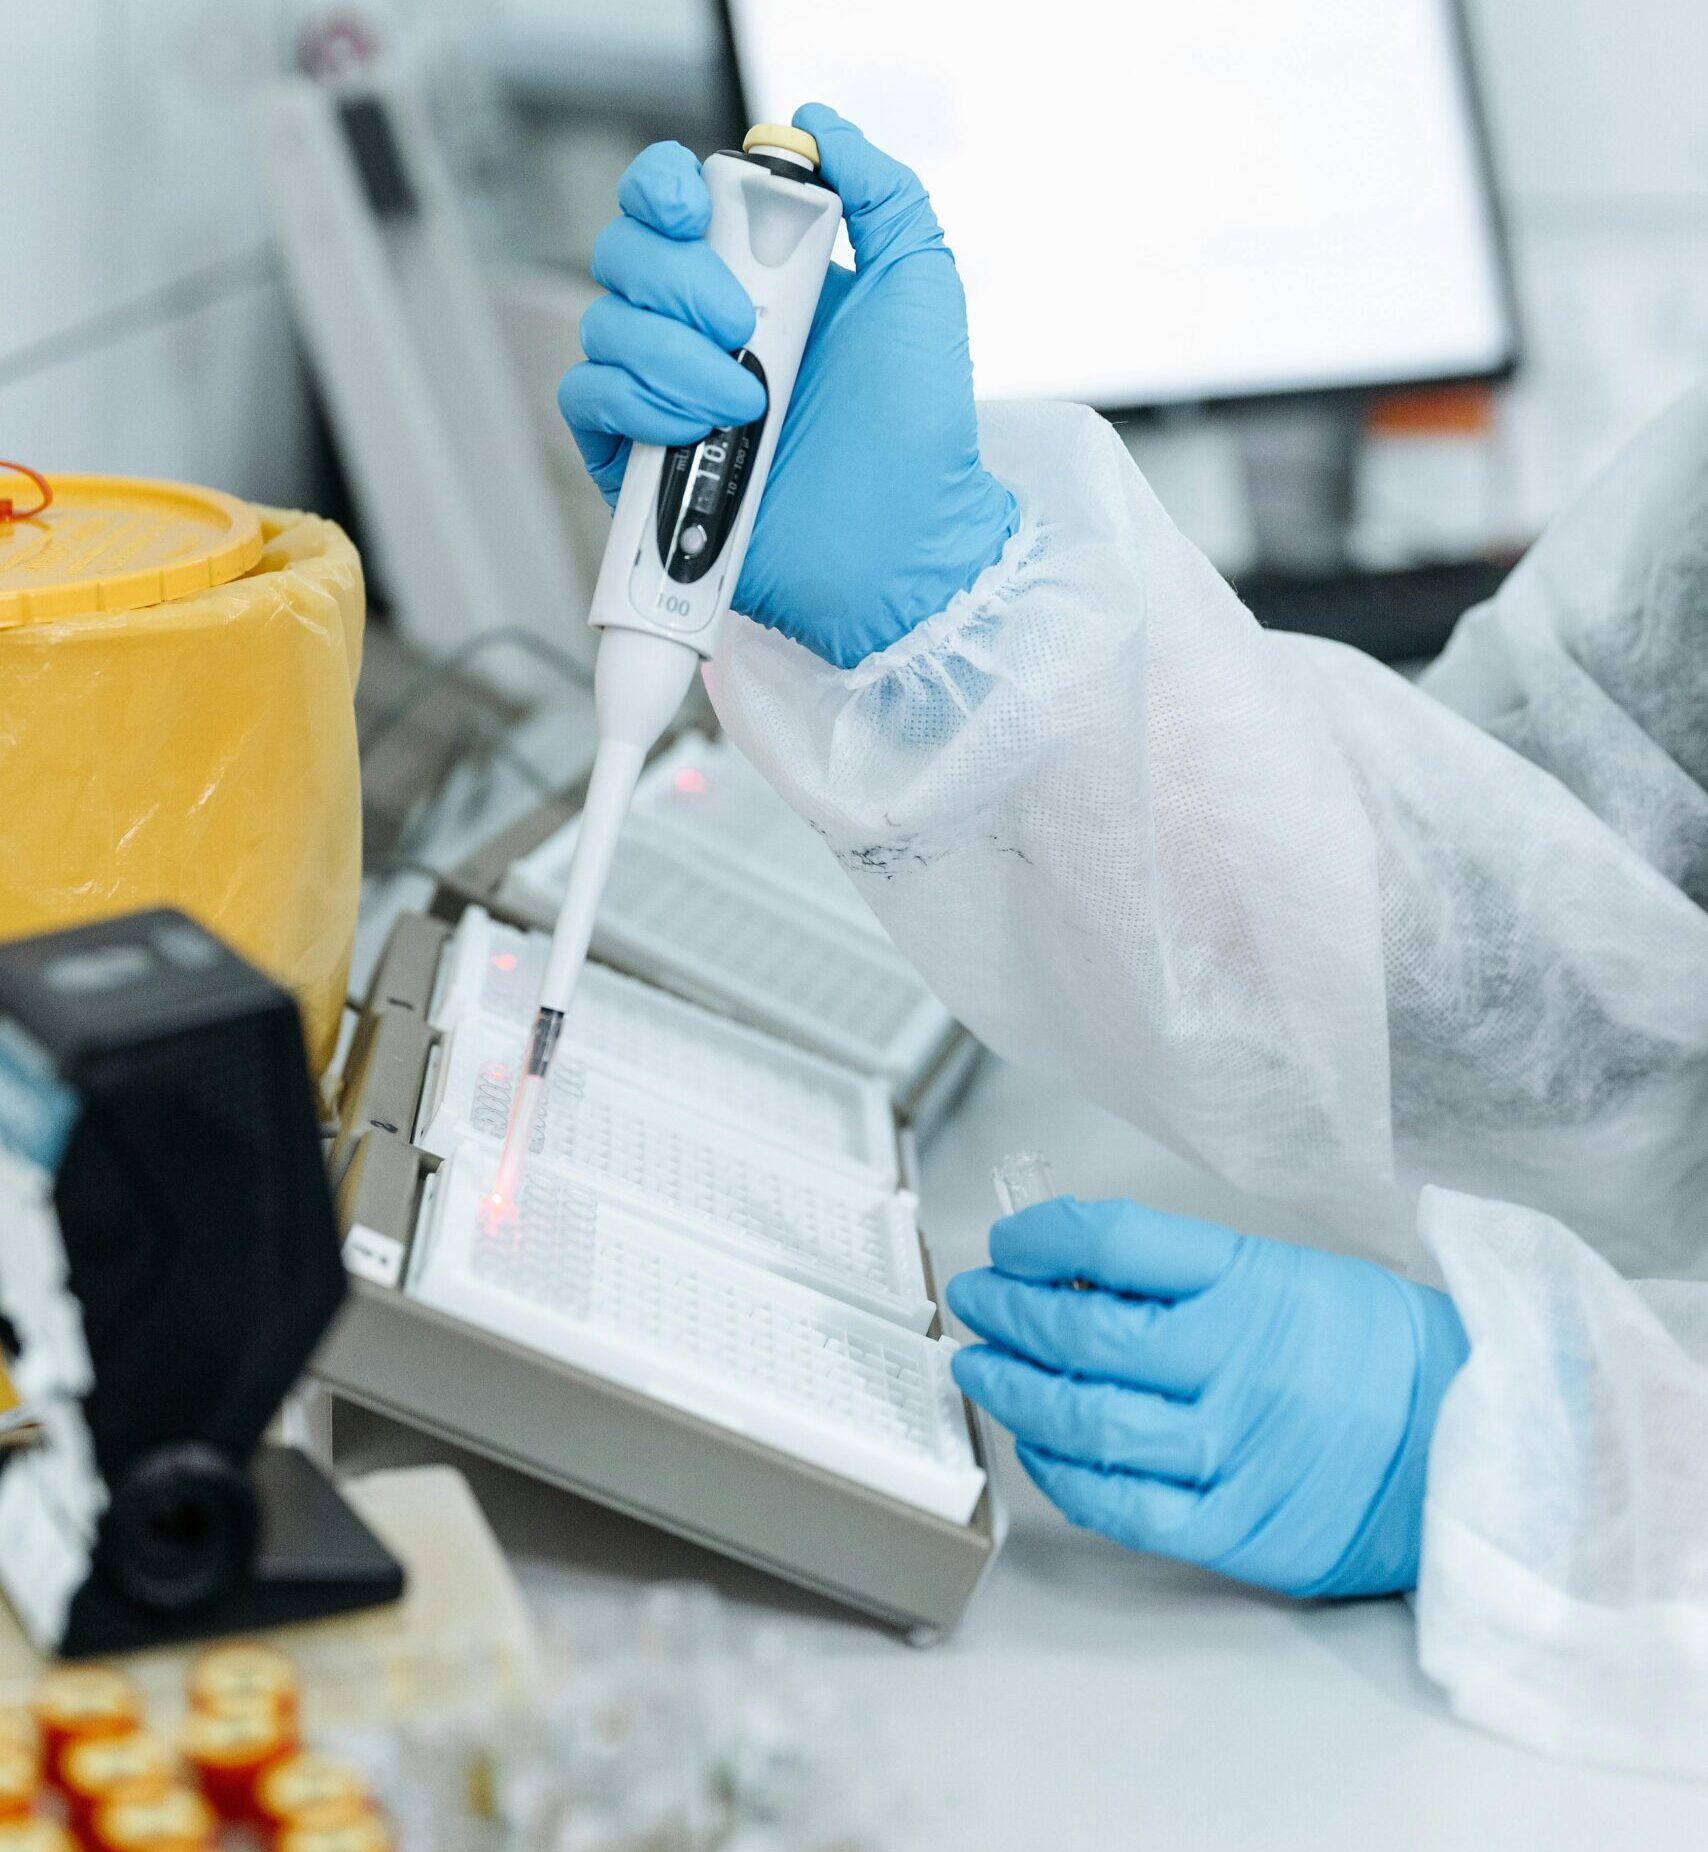
- Load DNA Samples: Using a micropipette, carefully load your DNA samples and a DNA ladder (size standard) into the wells.
4. Running the Gel
- Submerge the Gel: Place the gel casting tray into an electrophoresis chamber filled with buffer solution. Ensure the gel is completely submerged.
- Connect the Power Supply: Connect the electrodes of the electrophoresis chamber to a power supply and apply the appropriate voltage.
- Run the Gel: Allow the electric current to run through the gel for the required time. DNA fragments will migrate towards the positive electrode based on their size.
5. Visualization
- Staining: After electrophoresis, stain the gel with a DNA-binding dye, such as ethidium bromide. This dye intercalates between DNA base pairs and fluoresces under UV light.
- Imaging: Place the stained gel on a UV transilluminator and capture an image of the DNA bands.
6. Analysis
- Compare to DNA Ladder: Compare the migration distance of your DNA fragments to the DNA ladder to determine their sizes.
- Interpret Results: Analyze the DNA band patterns to draw conclusions about your experiment, such as identifying DNA fragment sizes, checking for the presence or absence of specific DNA sequences, or assessing DNA purity.
Safety Considerations
- Ethidium Bromide: Ethidium bromide is a mutagen and carcinogen. Handle with care and wear appropriate personal protective equipment.
- Electrical Hazards: Electrophoresis involves high voltage. Ensure the electrophoresis chamber is properly connected and avoid touching the buffer or electrodes while the power is on.
Conclusion
Gel electrophoresis is a valuable technique for separating and analyzing DNA fragments. By following this step-by-step guide and adhering to safety precautions, you can successfully perform gel electrophoresis and gain valuable insights into your DNA samples.